Setting up Android Continuous Integration with Jenkins
I've recently started working on my own Android app and, as I would do on any non-trivial .Net project, I wanted to setup a CI server to build and run my tests. It turns out to be reasonably straightforward...
Install Jenkins
Other CI software is available of course, but my requirements are fairly simple and Jenkins provides everything I need in a free, open source solution. I just installed the latest and greatest Windows package from jenkins-ci.org.
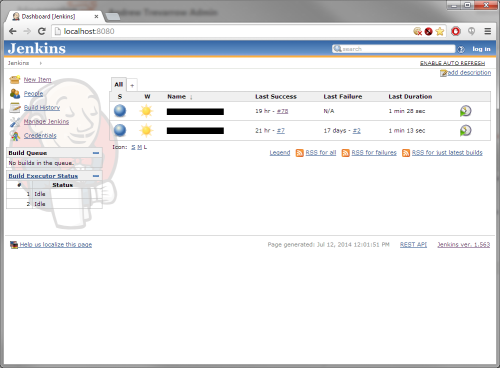
Jenkins runs as a Windows service (named Jenkins), with a web UI (on port 8080 by default):
Run Jenkins as a different user
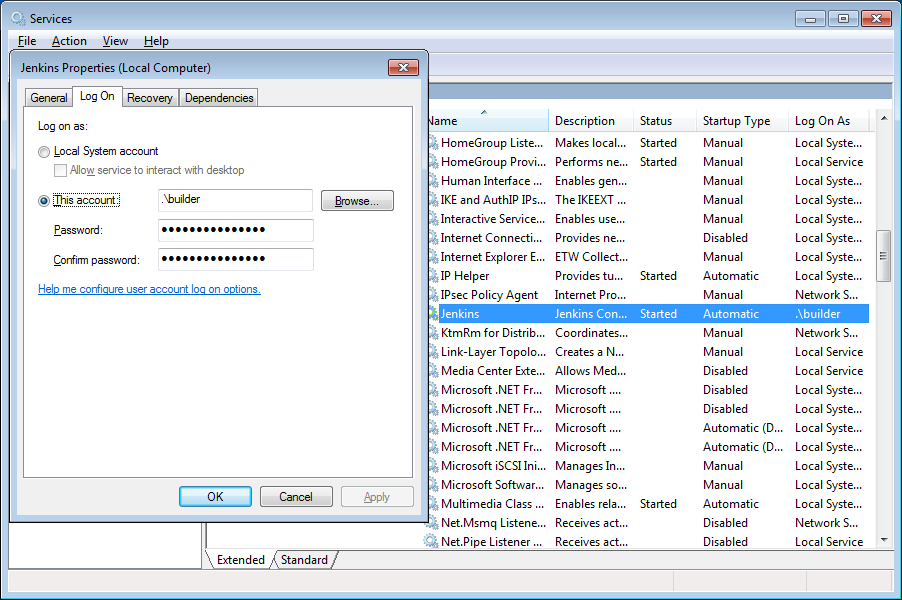
By default the Jenkins service runs as the local system account. However, we will need to use some environment variables and ssh keys later so I created a new user (builduser) and changed the Jenkins service to run as this account.
Install the Android prerequisites
As per the Android SDK requirements, you need to install the JDK and Ant (just go for the latest version of each).
Install the Android SDK and platforms
If this is just a build server you don't need the full Eclipse/ADT package, so on the Android SDK page click GET THE SDK FOR AN EXISTING IDE -> Download the stand-alone Android SDK Tools for Windows; then run the installer.
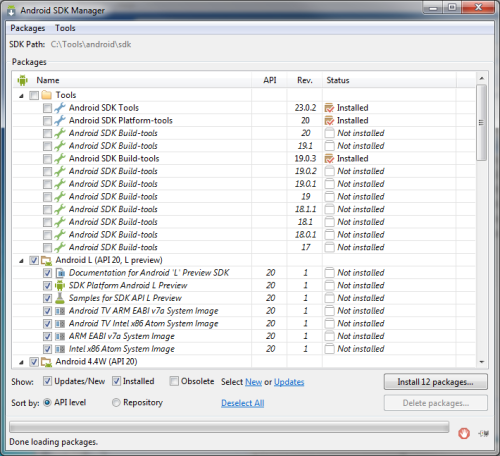
Once the SDK is installed you will need to add packages for the latest SDK tools and the Android platforms you want to target:
Install source control tools
I'm using a git repository hosted at Bitbucket, so Jenkins needs the tools to access the repository. I installed the latest release of git for Windows, and you will also need to add both the Git and Git client plugins for Jenkins - go to Manage Jenkins -> Manage Plugins from the Dashboard.
Setup environment variables
To get all the tools working correctly I needed to setup the following System-level environment variables:
- GIT_HOME = <path_to_git_installation>\cmd (not \bin)
- JAVA_HOME = <path_to_JDK> (eg. D:\Tools\Java\jdk1.8.0_05)
- Path - add Ant bin path (eg. D:\Tools\apache-ant-1.9.4\bin) and the git cmd path (same as GIT_HOME above)
You will also need to login as the builder user and add a user environment variable: HOME = <user_directory> (eg. C:\Users\builder).
Setup SSH for Bitbucket
Create key pair
While logged in as your Jenkins user (builder), generate an RSA key pair (Jenkins will use this to communicate with Bitbucket):
ssh-keygen -t rsa
(Note that ssh-keygen is in the bin folder of your git installation).
This will generate files id_rsa and id_rsa.pub in C:\Users\builder\.ssh (assuming you set the HOME environment variable as above).
Add the server to your trusted list
The first time you connect to a new git server you are prompted to continue; if this happens during a Jenkins build it will just hang, waiting for a response that will never come. To avoid this we need to do it from a command line, which will add the server to the trusted list and won't prompt again:
ssh -T git@bitbucket.org
(again, ssh.exe is in the git bin folder).
This will generate a known_hosts file in Git\.ssh, which you can copy to your user's .ssh folder (C:\Users\builder\.ssh).
Add your key to Bitbucket
Your build server will not be logging in to Bitbucket as a user, it will be using the above key to access the repository - Bitbucket calls this a deployment key. In the repository you want to access, click on Settings -> Deployment keys and Add Key. Give it a name (eg. BuildServer) and then copy the contents of the id_ras.pub file generated above into the Key.
Preparing your Android project
We will be building using Ant, so you need to generate the appropriate build files: within your Android app folder run:
android update project -p .
which will generate build.xml, etc.
Create a Jenkins job
- Create a New Item, give it a name and select Build a free-style software project.
- Select Git under Source Code Management and enter your repository url, eg. git@bitbucket.org:user/myrepo.git
- You can setup Bitbucket to poke your build server on a commit, but because my server is not publicly accessible I just poll instead: under Build Triggers, select Poll SCM and enter the schedule.
- Add an Invoke Ant build step and set your build targets (eg. "clean debug")
- Under Advanced, add an sdk.dir property pointing at your android sdk installation (eg. sdk.dir=D:\\Tools\\Android\\android-sdk); if your build.xml is not in the root of your repository you will also need to set the path to the build file.
- Save the job
Everything should now be setup, so go ahead and build - hopefully it succeeds!
Advanced
Obviously this just gives you a basic Build job for your Android project, but you can build on this to:
- Archive your generated .apk (add Post-build action to archive artifacts)
- Invoke different build targets, eg. I have a "ci" target that builds and then runs unit tests
- Publish JUnit test results
- Build a signed .apk for release - I have a separate job that I run manually, which takes the password for my signing key and builds/signs my apk
- Etc...